The DIN abrasion test is a widely used method for measuring the abrasion resistance of rubber and elastomeric materials. The test is based on the principle of rubbing a test piece against an abrasive cloth mounted on a rotating drum. The test piece is fixed on a holder that presses it against the abrasive cloth with a specified pressure. The mass losses of the test rubber and standard reference rubber after being subjected to abrasive action by a certain number of revolutions are determined and converted to volume loss from the density.
If you have bought a DIN tester but never had the experience of using it, or you are confused about how to operate the test after reading relevant standards. It will be beneficial for you to read this ultimate guide as it will help and guide you step by step on how to perform the DIN abrasion test based on ISO 4649. Please come with us to go ahead.
If you wanna learn about DIN Abrasion Testing Machine from AmadeTech, please click HERE.
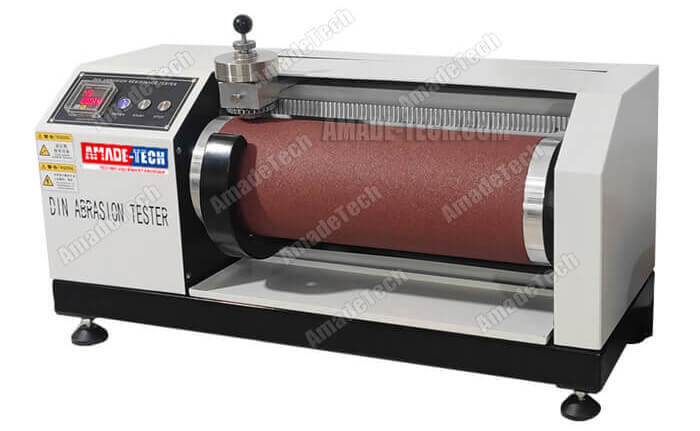
DIN Abrasion Tester
1 Preparing Specimens and Conditioning
1.1 Taking Specimens
Notes: Regarding the type of standard reference rubber, you can select one type of standard reference rubber from No. 1, No. 2, or user-defined reference rubber stated in ISO 4649.
1.1.1 Using a hollow drill (this device will be included in the standard configuration of the DIN abrasion tester if you buy the tester from AmadeTech) as shown in the picture on the right to cut the specimens from a molded rubber sheet by means of a drilling machine (refer to the drilling machine in the right picture. It is an optional configuration from AmadeTech). This drill allows you to take cylindrical test pieces of 16 mm in diameter, and the height is dependent on that of the rubber sheet, requiring not less than 6 mm.
1.1.2 Alternatively, directly vulcanizing or forming the specimens in a mold.
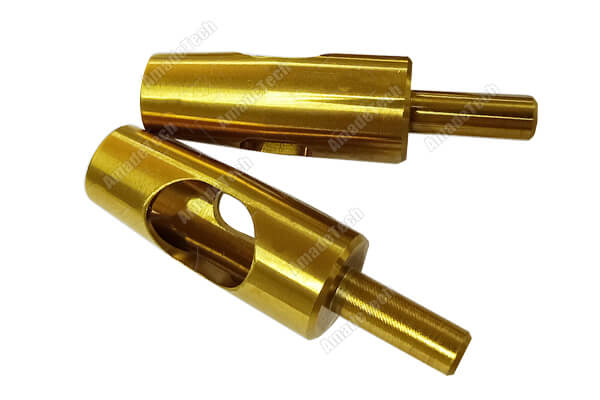
Hollow drills
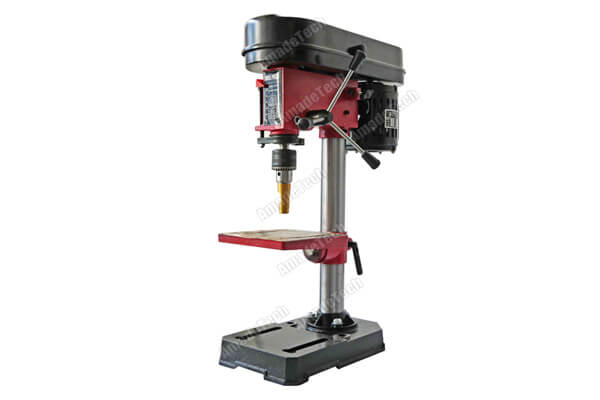
Drilling machine
Notes: If the specimen height is not enough, you can bond a piece of cylindrical test rubber not less than 2 mm to a base element with hardness not less than 80 Shore A to achieve a required test piece.
1.2 Number of Specimens
1.2.1 For test rubber test pieces
Take 4 pieces of specimens from each test rubber: Three test pieces for the mass loss determination of the test rubber and an extra one for measuring the density with a balance.
Alternatively, Take 11 pieces of specimens for referee purposes: 10 pieces for the mass loss determination of test rubber and an extra one for the density measurement.
1.2.2 For standard reference rubber test pieces
Provided that the three test runs are made on one test piece, you need to take at least 3 test pieces from a sheet of standard reference rubber No.1 or No. 2 (one piece for the abrasive sheet calibration, two pieces for the mass loss determination of standard reference rubber). It is recommended to prepare more used as spares for cleaning, calibrating the abrasive sheet, or checking the abrasive sheet for qualification after it is blunted with a steel test piece.

Standard reference rubber
1.3 Conditioning
The interval between vulcanization or forming and testing shall be at least 16 hours. You need to condition the specimens and conduct the test runs at a standard laboratory temperature in line with ISO 23529 before testing. Generally, it requires (23±2)°C and R.H. (50±5)%.
2 Calibrating the Abrasive Sheet
According to accumulated experience, the most recognized test condition for abrasive sheet calibration is using test method A of a non-rotating test piece with standard reference rubber No. 1. In this tutorial, we will take a test condition of using the non-rotating test piece with standard reference rubber No. 1 as an example.
Attention: Once a test method and a type of standard reference rubber are determined and used here for the abrasive sheet calibration, the same conditions are required to be used in the subsequent test runs.
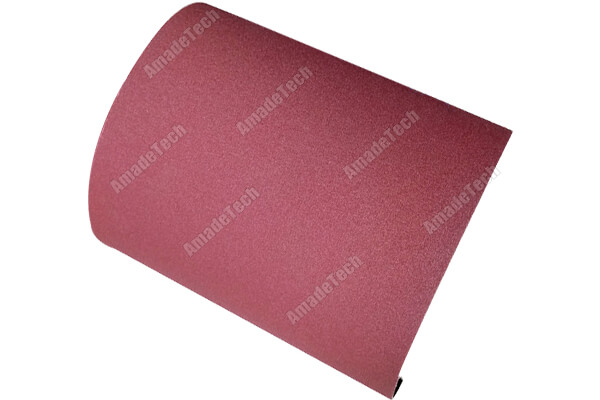
Abrasive sheet
Notes: For AmadeTech DIN Abrasion Tester, gadgets for enabling rotating and non-rotating the test piece are provided. Before commencing the test run, you must first check and ensure that the specimen holder is non-rotating during the movement. Replacing the gadget in the holder with the other one without sawteeth on the periphery is required if the specimen holder rotates with movement.
2.1 Remove the residue on the abrasive sheet from a previous test with a supplied brush or by blowing. Alternatively, you can conduct a blank test with a standard reference rubber test piece, following the steps below to clean the abrasive sheet to achieve the same purpose.
2.2 Select a standard reference rubber test piece and weigh it to the nearest 1 mg with a balance, indicated by a symbol, such as m1.
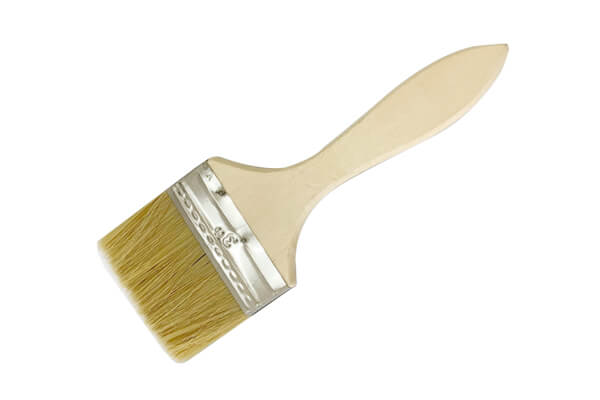
Brush
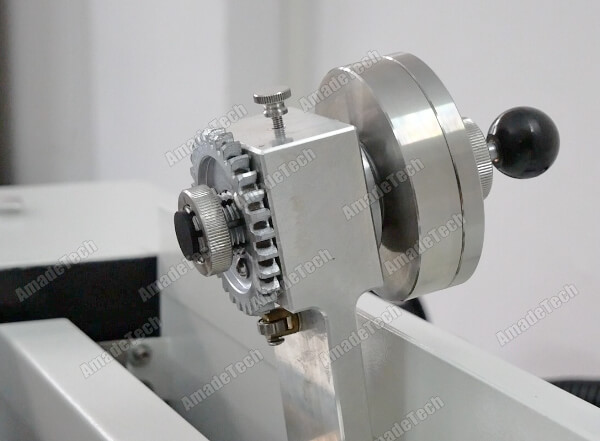
Specimen holder
2.3 Insert one end of the test piece into the specimen holder, requiring a protruding length of (2.0±0.2) mm from the opening with the aid of the gauge included, then fix it with a nut.
2.4 Lower the swivel arm, and add the load weights to the specimen holder to allow the test piece to be pressed against the drum with a vertical pressure of (10±0.2) N. (Other downward forces such as (5±0.1) N are available to be added as needed.)
2.5 Move the specimen holder laterally to the starting point along the spindle.
2.6 Switch on the abrasion tester and set the number of revolutions to 84 on the counter, which is equivalent to an abrasion distance of 40 m.
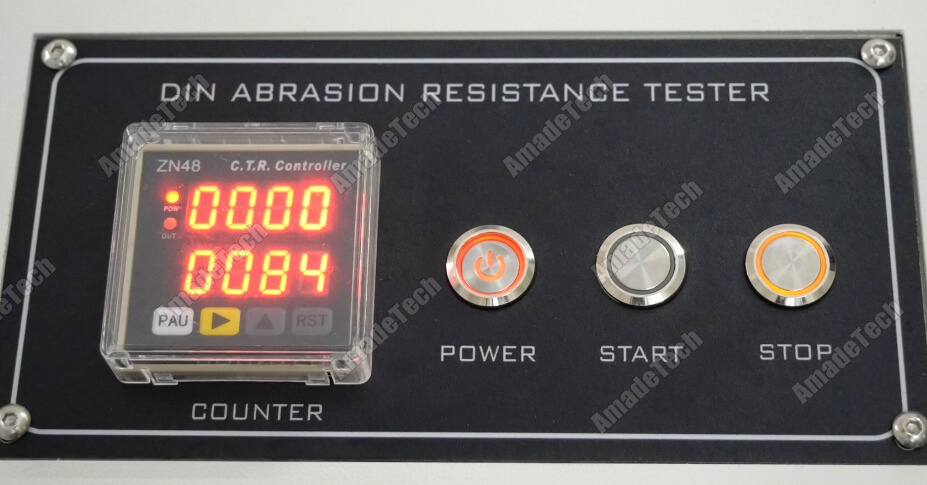
Control panel
2.7 Press the “Start” button of the machine to initiate the test run (The vacuum cleaner will be turned on in sync if it is configured. It is recommended to manually brush off the debris on the drum with a brush while abrading if it has no vacuum cleaner), Pay attention to inspecting the specimen holder for vibration. (Give up the test run if an abnormal vibration is found). The machine will automatically stop once the defined number of revolutions is achieved.
Notes:
- When testing on test rubber test pieces, you can press the “Stop” button at 42 revolutions (20 m) provided that its mass loss is more than 400 mg in 40 m, then reset the exposed length of the test piece to (2.0±0.2) mm in the same way as before to allow the rest 42 revolutions (20 m) to be completed. (Attention: The height of the test piece shall not be less than 5 mm at any time.)
- Provided that the mass loss is more than 600 mg in 40 m, you can directly finish the test run at an abrasion distance of 20 m (42 revolutions). Multiplying the test result by 2 is required to get the test data of 40 m.
- 20 m run is recommended for bonded specimens, as they are not allowed to be abraded down to the bond line at any time.
2.8 Remove the test piece from the specimen holder, then reweigh the test piece to the nearest 1 mg, indicated by a symbol, such as m2.
2.9 Calculate the mass loss of the test piece by subtracting m2 from m1. The result is indicated by Δm.
Notes:
- The mass loss result should be between 180 mg and 220 mg when calibrating the abrasive sheet using method A with standard reference rubber No. 1, which means the abrasive sheet is qualified and ready to conduct the subsequent tests.
- If the mass loss is greater than 220 mg but less than or equal to 300 mg, you need to continue to wear the abrasive sheet until it is equal to or less than 220g.
- If the mass loss is greater than 300 mg, you should substitute a steel test piece for the rubber test piece to carry out one or two runs to reduce the abrasive grade of the abrasive sheet to be within the upper range of 180 mg ~ 220 mg, which is required to be checked by single runs with two standard reference rubber specimens. (A steel test piece is included in the DIN Abrasion Tester set from AmadeTech.)
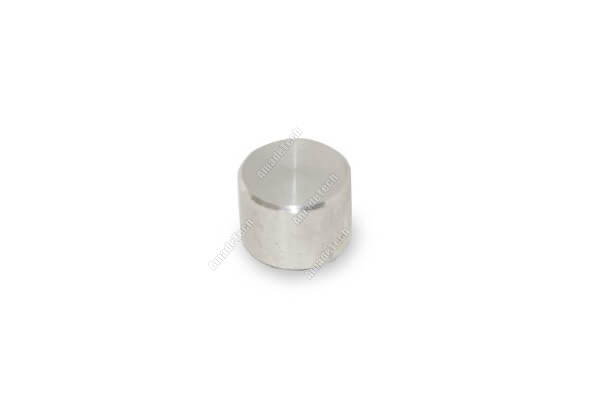
Metal test piece
3 Conducting the First Batch of Test Runs on Standard Reference Rubber Test Pieces
- Conduct a minimum of 3 test runs consecutively with the prepared standard reference rubber test piece(s) following the steps above from 2.1 ~ 2.9.
- You are allowed to conduct the 3 test runs on one standard reference rubber test piece, but a sufficient interval time between each run should remain to allow the test piece temperature to return to laboratory temperature. Alternatively, you can carry out each test run on a new test piece.
- After at least 3 test runs are completed, record the corresponding mass loss values respectively and indicated by Δmr1, Δmr2, Δmr3. (number of test runs ≥ 3)
4 Conducting the Test Runs on Test Rubber Test Pieces
- Conduct at least 3 test runs consecutively with the prepared test rubber test pieces in accordance with the steps above from 2.1 ~ 2.9.
- One test piece is not allowed to be tested repeatedly, and a maximum of 10 test runs on a test rubber are allowed in each test series.
- After at least 3 test runs are completed, record the corresponding mass loss values respectively and indicated by Δmt1, Δmt2, Δmt3 (3 ≤ number of test runs ≤ 10)
5 Conducting the Second Batch of Test Runs on Standard Reference Rubber Test Pieces
- Follow the test process of 2.1 ~ 2.9 to carry out a minimum of 3 test runs consecutively with (a) new reference rubber test piece(s), then record the corresponding mass loss values respectively and indicated by Δmr4, Δmr5, Δmr6 (number of test runs ≥ 3)
Attention:
The test sequence from steps 3 to 5 is not set in stone. When the test rubber is liable to smear, you need to determine the mass loss of the standard reference rubber after each run with the test rubber. If the reduction in mass loss of the standard reference rubber measured after the test run with the test rubber compared to that measured before the test run is greater than 10%, this method is invalid.
6 Weighing the Density of the Test Rubber
Choose a prepared test piece of test rubber to weigh its density with a density balance and record it, indicated by ρt.
7 Calculating the Mean Value of the Mass Losses
7.1 Calculation formula of the mean value of the mass losses of test rubber is as below, and the result is indicated by Δmt:
7.2 Calculation formula of the mean value of the mass losses of standard reference rubber is as below, and the result is indicated by Δmr:
8 Calculating the Test Results
8.1 Calculation Formula of Relative Volume Loss:
Where
Δmt is the mass loss, in mg, of the test rubber test piece
200 is a defined value of the mass loss, in mg, using method A with standard reference rubber No. 1 stated in ISO 4649)
ρt is the density, in mg/mm3, of the test rubber
Δmr is the mass loss, in mg, of the standard reference rubber test piece tested with the same method.
8.2 Calculation formula of Abrasion Resistance Index:

Where
Δmr is the mass loss, in mg, of the reference rubber test piece
ρt is the density, in mg/mm3, of the test rubber
Δmt is the mass loss, in mg/mm3, of the test rubber test piece
ρr is the density, in mg/mm3, of the standard reference rubber
Conclusion
The DIN abrasion test is widely used to evaluate the wear performance of rubber and elastomeric materials for various applications, such as tires, conveyor belts, hoses, seals, and coatings. The test provides a reliable and reproducible measure of the material’s ability to withstand abrasive wear under controlled conditions.
The above content is the DIN abrasion test procedure step by step according to the ISO 4649 standard. We hope it can give you a clear guide on conducting the test. An article alone may not be able to describe all the test details clearly for one standard. We still suggest you refer to specific standards when carrying out the test.
If you have questions about DIN abrasion testing or DIN abrasion testing equipment, please contact AmadeTech directly. AmadeTech is a professional material testing equipment supplier from China. Our DIN testing equipment is accredited by laboratories, including UL. Making material testing accessible is our pursuit. AmadeTech is always online for you.